
Did you know that the Mastering tattoo voltage for lining and shading settings can make or break the quality of your artwork? Understanding the optimal voltage for lining and shading is crucial for achieving clean lines and smooth gradients. In this comprehensive guide, we’ll delve into the intricacies of tattoo machine voltage, providing you with actionable insights to enhance your tattooing skills.
Whether you’re a seasoned artist or just starting out, mastering these settings can elevate your work to new heights. By the end of this article, you’ll have a clear understanding of how to adjust your machine for both lining and shading, ensuring your tattoos not only look professional but also stand the test of time. Let’s dive in and unlock the secrets to impeccable tattoo artistry.
What Is Tattoo Voltage and Why Does It Matter?
Mastering the appropriate voltage settings for your tattoo machine is essential for producing high-quality tattoos. Proper voltage adjustments ensure clean lines, smooth shading, and optimal healing, reflecting your professionalism and dedication to the craft.
Understanding Tattoo Voltage and Its Significance
Voltage settings directly influence your tattoo machine’s performance, affecting needle speed and force, which in turn impact the quality of your work. Voltage in tattooing refers to the electrical power that drives the needle’s movement.
Higher voltage increases needle speed and force, suitable for bold lines, while lower voltage offers gentle strokes ideal for shading. Selecting the correct voltage is vital for various aspects of tattooing, including shading, lining, and color packing, affecting the quality of the finished tattoo and the healing process.
How Voltage Affects Your Tattoo Machine
Adjusting voltage alters needle behavior, impacting the tattoo’s precision and depth. The voltage setting on your tattoo machine determines the speed and force of the needle. A higher tattoo voltage causes the needle to move faster and hit the skin with more force, while a lower voltage results in slower needle movement and less force. Selecting the correct voltage is vital for various aspects of tattooing, including shading, lining, and color packing. It affects the quality of the finished tattoo and the healing process.
Voltage in Lining vs. Shading: Key Differences
Lining and shading require distinct voltage settings to achieve desired effects. Lining typically requires higher voltage (7.5-9V) to ensure the needle penetrates the skin swiftly, creating clean, consistent lines. Shading, however, benefits from a lower voltage (6-8V), allowing for softer needle action to achieve smooth gradients. These settings can vary based on machine type and personal technique.
Choosing the Right Voltage for Tattoo Lining
Identifying the optimal voltage range is crucial for achieving precise line work.
Ideal Voltage Range for Crisp Lines
For lining, artists generally operate within a voltage range of 7.5 to 9 volts. This range provides the necessary power for the needle to penetrate the skin cleanly, resulting in sharp lines.
Factors Influencing Lining Voltage Settings
Machine type, needle configuration, and tattoo style influence voltage requirements.
- Machine Type: Rotary machines often operate efficiently at lower voltages compared to coil machines.
- Needle Configuration: Larger needle groupings may require adjustments in voltage to ensure consistent performance.
- Tattoo Style: Intricate designs may necessitate fine-tuning voltage settings to achieve the desired effect.
Common Mistakes in Lining Voltage Settings
Avoiding common errors ensures better tattoo outcomes.
- Overcompensation: Increasing voltage to counteract technique flaws can lead to skin damage.
- Ignoring Equipment Specifications: Not all machines are designed for high-voltage operation; exceeding recommended settings can cause equipment failure.
Optimizing Tattoo Voltage for Shading

Proper voltage settings are essential for achieving smooth shading and desired artistic effects.
Best Voltage Settings for Smooth Shading
For shading, a voltage range of 6 to 8 volts is commonly recommended. This allows for softer needle action, facilitating smooth gradients and subtle transitions.
Adjusting Voltage for Different Shading Styles
Tailoring voltage settings to shading styles enhances artistic versatility.
- Soft Shading: Lower voltages (around 6V) produce gentle tones suitable for realistic portraits.
- Bold Shading: Higher voltages (up to 8V) create more pronounced contrasts, ideal for traditional tattoos.
- Textured Shading: Adjusting voltage and hand speed can achieve stippled or grainy effects.
Troubleshooting Shading Issues
Identifying voltage-related problems is crucial for consistent shading quality.
- Ink Not Depositing Properly: Voltage may be too low; consider a slight increase.
- Excessive Skin Trauma: High voltage can cause unnecessary damage; reducing voltage may help.
- Inconsistent Shading: Ensure voltage matches the desired shading technique and needle configuration.
How to Test and Adjust Tattoo Voltage Like a Pro
Accurately testing and adjusting your tattoo machine’s voltage is crucial for consistent and professional results.
Step-by-Step Guide to Finding the Perfect Voltage for Your Machine
- Start with Manufacturer Recommendations: Begin by setting your machine’s voltage according to the manufacturer’s guidelines, typically between 6-12V.
- Perform Test Runs: Use practice skins to test different voltage settings, observing how the needle interacts with the material.
- Assess Needle Performance: At each voltage level, evaluate the needle’s speed and depth to determine the optimal setting for your desired outcome.
Tools and Techniques for Accurate Voltage Testing
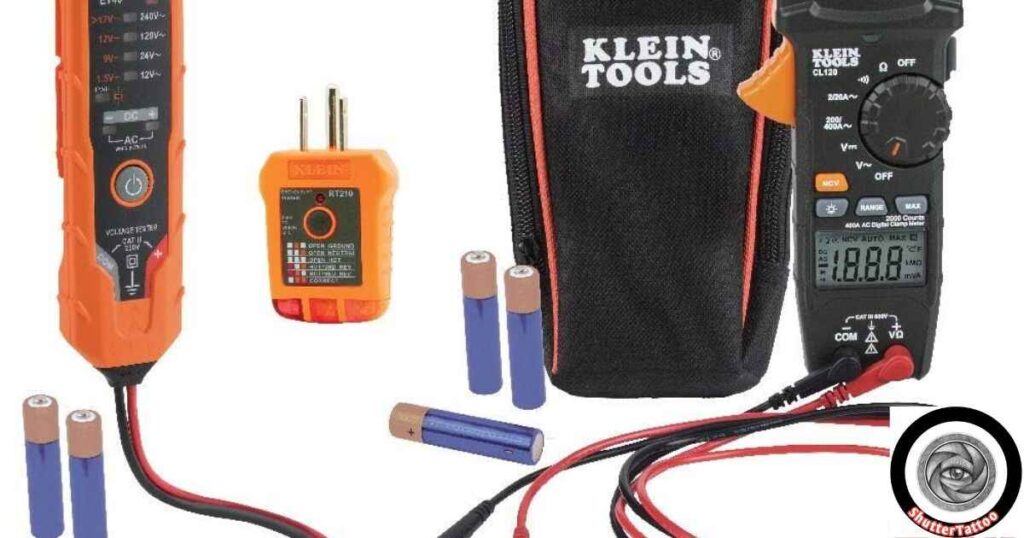
- Digital Power Supplies: Utilize power supplies with precise voltage readouts to ensure accurate adjustments.
- Multimeters: Employ multimeters to verify the actual voltage output of your machine, ensuring consistency.
- Consistent Testing Medium: Always test on similar materials to maintain consistency in your assessments.
How to Fine-Tune Voltage Mid-Session for Consistent Results
- Monitor Skin Reaction: Regularly observe how the client’s skin responds; adjust voltage if you notice excessive redness or ink pooling.
- Adjust for Needle Wear: As needles dull over time, a slight voltage increase may be necessary to maintain performance.
- Communicate with Clients: Pay attention to client feedback regarding discomfort, which may indicate the need for voltage adjustment.
Advanced Tips for Mastering Tattoo Voltage
Advanced voltage control techniques can significantly enhance your tattooing precision and adaptability.
How to Adapt Voltage Settings for Different Skin Types and Areas
- Thicker Skin Areas: Increase voltage slightly to ensure proper needle penetration in areas like the back or thighs.
- Sensitive or Thin Skin: Lower voltage to minimize trauma when working on delicate areas such as the inner arm or neck.
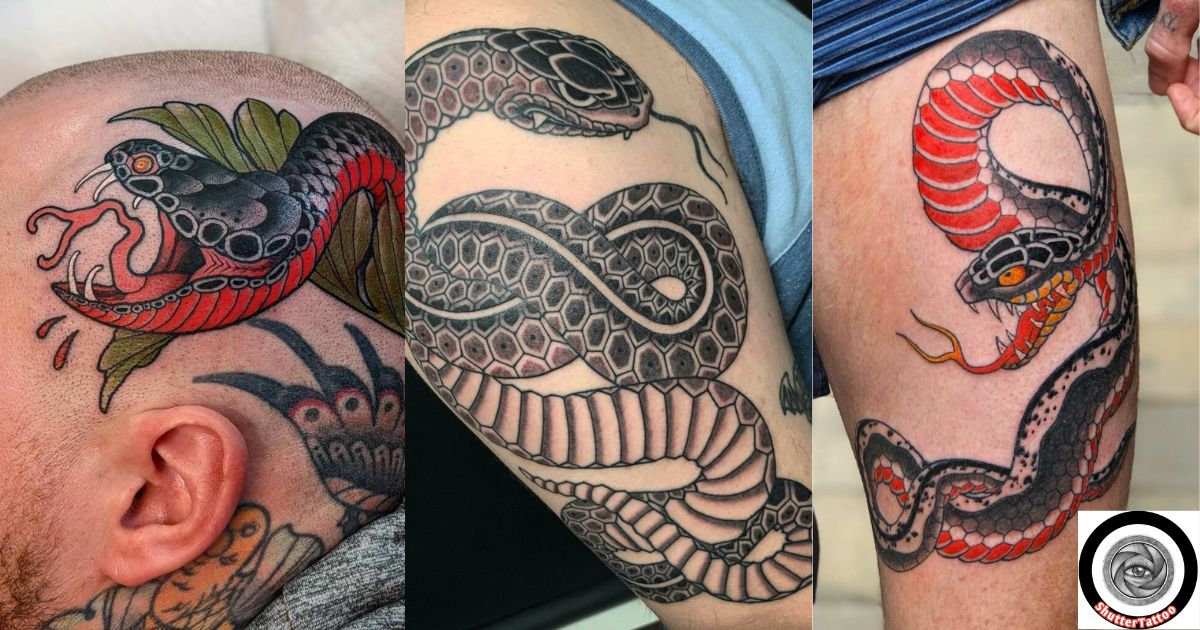
Read This Blog: Ophidian Tattoos: The Ultimate Guide to Snake-Inspired Body Art
Combining Voltage Adjustments with Hand Speed for Perfect Results
- Synchronize Movements: Match your hand speed with the machine’s voltage; faster hand movements pair well with higher voltage, while slower movements require lower voltage.
- Practice Consistency: Develop a steady hand speed to complement consistent voltage settings, leading to uniform line work and shading.
Expert Insights: What Professional Tattoo Artists Say About Voltage Control
Experienced artists emphasize the importance of continuous learning and adaptation. They recommend starting with lower voltages and gradually increasing based on observation and client comfort. Monitoring the machine’s performance and making incremental adjustments are key to achieving optimal results.
FAQ’s
Can I Use the Same Voltage for Lining and Shading?
No, lining typically requires higher voltage (7.5–9V) for crisp lines, while shading uses lower voltage (6–8V) for smooth gradients.
What Happens If My Voltage Is Too High or Too Low?
High voltage can cause skin trauma and blowouts; low voltage may result in uneven ink deposition and sketchy lines.
How Often Should I Check and Adjust My Tattoo Machine’s Voltage?
Regularly monitor and adjust voltage before and during each session to ensure optimal performance and accommodate different techniques.
Conclusion
Mastering tattoo machine voltage is essential for achieving impeccable lining and shading in your artwork. By understanding and adjusting voltage settings appropriately, you ensure clean lines, smooth shading, and an overall professional finish. Remember, lining typically requires a voltage between 7-9V, while shading is best performed at 8-10V.
Always consider factors like needle size, skin type, and desired speed when setting your machine’s voltage. For instance, larger needles or thicker skin may necessitate higher voltage. Regularly monitoring and adjusting your voltage settings before and during each session is crucial for optimal results.
By honing your voltage control skills, you enhance your tattooing technique and ensure client satisfaction. Embrace continuous learning and experimentation to elevate your artistry to new heights.